Tuesday, April 29, 2014

Sister Box and Soft Oatmeal Raisin Cookies

As most of you know I used to be in the Army, so I know how hard it is to be away from family and friends for a training exercise. My sister is currently at JRTC in Ft. Polk, LA for a month and finally gets to come home in a few days! I thought it would be nice to send her a few goodies so she feels loved and missed when she returns to her apartment. I even made her some amazing Soft Oatmeal Raisin Cookies, per her request. I am so proud of my little sister and hope we get to see each other soon.

Soft Oatmeal Raisin Cookies (makes 3 dozen)

Ingredients:

- 1 cup butter, softened
- 1 cup brown sugar, packed
- 1 cup gradient sugar
- 1 tsp. vanilla
- 2 eggs
- 3/4 tsp. baking soda
- 3 cups flour (plus 3 tbsp at high altitude)
- 1 cup oatmeal
- 1 1/2 cups raisins

1. Beat butter and sugars together until fluffy.
2. Add eggs and vanilla.
3. Add flour, baking soda, oatmeal and raisins. Place on a parchment lined baking sheet. I used my 2 tbsp cookie scoop.
4. Bake for 8 minutes at 350 degrees.

 Creaming butter and sugars together

 Adding vanilla, eggs, baking soda, and oatmeal

 Oatmeal Raisin Dough

 Cookie dough formed

 Cookies ready to be packaged up!

 Soft Oatmeal Raisin Cookies

"Sister Box" completed with Ashley Brooke Designs tank, chalkboard labels, Owl tote, pens, notecards and chalkboard coasters

Enjoy!
Brittney

Sunday, April 27, 2014

Meal Planning

I enjoy cooking and planning. Those two things might go hand-in-hand when it comes to planning dinner meals for the week... I have recently had a few people ask me if I meal plan and how I do it. So I decided to share!

Usually, the night before I plan on grocery shopping I make my list. It is really important that you check to see if you already have some of the ingredients for whatever you plan to make in your pantry. Sometimes it doesn't happen and you wonder why you have 3 jars of spaghetti sauce... I also am an avid Pinterest user and that's where I get most of my recipes for meals. Of course I do use past recipes, too. My planning for dinner for the week is usually 4-5 meals, since one night we might go out to dinner or have leftovers. I also love making meals that don't take too much time, since I don't have a lot of time to commit to meal making in the evenings. So, usually I include a slow cooker meal in my week because that makes dinner even easier that night!

My grocery list consists of the fresh items I need for the meals I plan to make. We do not eat a lot of processed food, so I do grocery shop once a week for fresh fruits/veggies and meats. Also, because we don't buy a lot of processed foods, I don't really see a need to coupon very much since there usually isn't a coupon for the fresh foods my family eats. My list also contains items my family is low on or needs - toiletries and snacks.

Below is a picture of my list this week and a calendar of what I plan to make for the week. Of course the order of the meals are easy to switch up if necessary! I usually commit about 20 minutes to write my list and decide what to cook for the week. Happy Meal Planning!

Grocery List and Calendar of Meals

Enjoy!
Brittney

Saturday, April 26, 2014

Painting an Exterior Door DIY

To continue my theme of painting my house - the front door was tackled with some fresh paint yesterday! I just finished the second coat and my door is Spring ready! I was inspired by this blog and got myself a quart of outside weather friendly paint and got to work. Love the results! Now my husband just needs to power wash the house...

Supplies

- quart of paint, I used Valspar Ultra Paint+Primer for the Exterior with a Satin finish (You can always ask the paint consultant at your local hardware store for suggestions in selecting the right paint), color: Lincoln Cottage Lattice Green
- paint brush
- paint tape

1. Wash your front door with some soapy water and let dry.
2. Tape off your door hardware so you don't get paint on them.
3. Paint your door! I used two coats. Let dry.

 Paint

 Old Paint with taped off hardware

 Fresh Paint!

 Finished door

And it was homemade pizza night... my pizza dough is amazing!

Enjoy!
Brittney

Wednesday, April 23, 2014

DIY Pottery Barn Kids Artwork for Boys

On top of fixing up our laundry room, I also decided to re-do the boys' bathroom. It used to be Pottery Barn Kids "The Very Hungry Caterpillar" theme and now it is more grown up with pieces that can be changed as the boys get older. I will post the finished result once some backordered towels arrive next month! For now, I wanted to make my own PB Kids Inspired Artwork to hang. This project cost me NOTHING to make! Here is where my inspiration came from.

I used a canvas I had painted a picture of a bunny on from one of those "wine and painting" places. I painted over the canvas a plain navy blue with leftover paint from painting my son's nursery. I then asked a sweet friend of mine if she wouldn't mind cutting some letters out for me (using her awesome Silhouette machine) that said "Every Brother Is A Superhero" on some white cardstock - and she did - for FREE! We even made a play date out of it for our boys. Using Mod Podge I just placed the letters where I wanted them to be and glued them down. I am extremely pleased with the result and can't wait to share the rest of the bathroom re-do with you all!

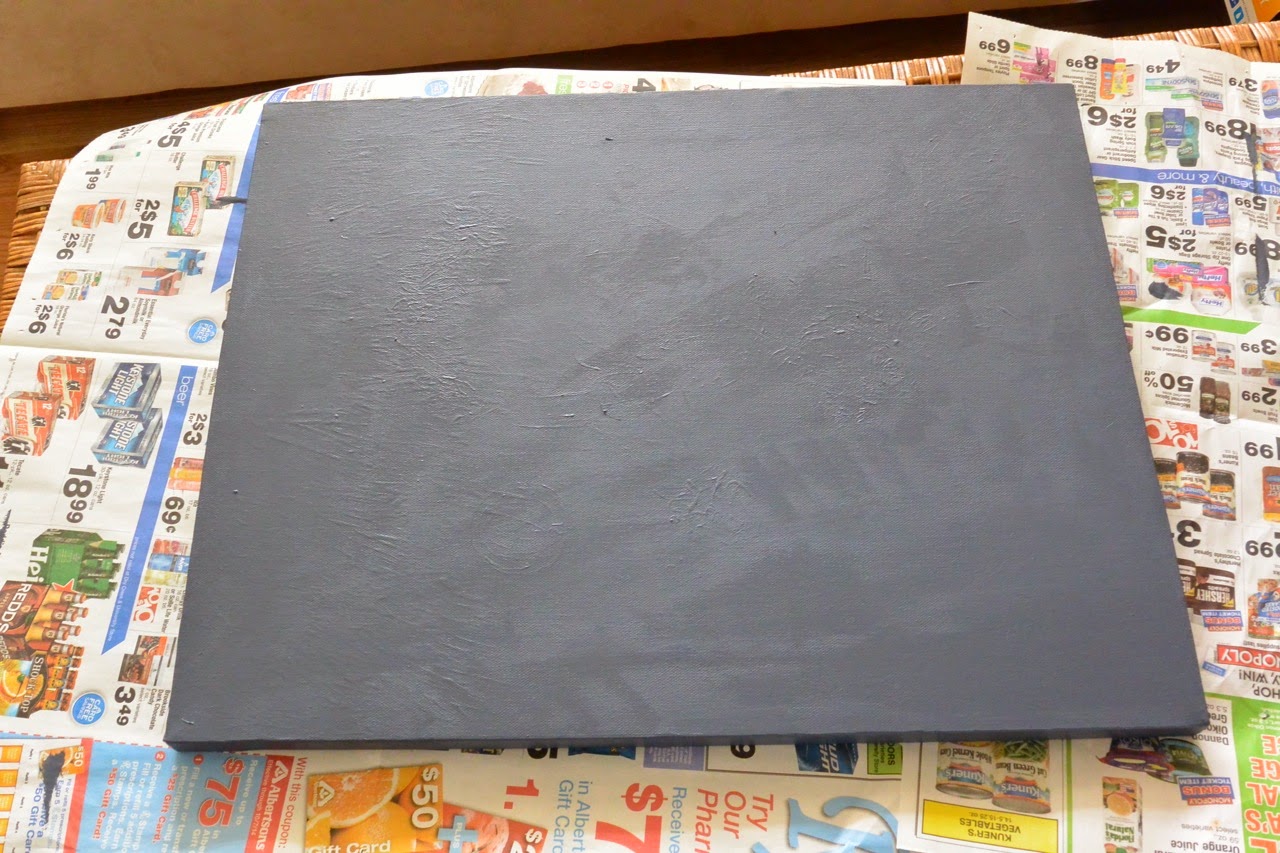
 Painted canvas

 Placing cut letters on canvas with transfer paper

Finished Artwork!

Enjoy!
Brittney

Tuesday, April 22, 2014

Laundry Room Floating Shelves DIY

I've been absent and busy with Spring cleaning chores and re-doing our laundry room. Our laundry room used to be this awful shade of yellow (it came with the house) with one rickety shelf. So I painted the laundry room white (Martha Stewart "Glass of Milk") and my husband built two floating shelves out of plywood and pine. This project was extremely inexpensive, considering we didn't have to buy pre-made shelves from Pottery Barn! I used this blog DIY as inspiration.

The plywood cost $45 for a sheet, which we had cut in half to make 2 shelves. The pine was 2 inches thick and cut to the length of our room and then the length we wanted the shelf to be. Pine was about $5 per strip. We used 3" drywall nails to secure the pine to the walls and then my husband used a stud finder to drill holes into the walls to really secure the cleats. He then just laid the plywood 'shelf' on top of the pine cleats and nailed it to the pine. The front part of the shelf is 2 3/4" pine nailed to the pine cleats and plywood shelf as a decorative finish. I then painted the shelves white.

Now I just need to reorganize my laundry stuff and craft stuff in pretty bins! Off to Target tomorrow!

*I won't include specific measurements of our shelves since every laundry room is different and you may want different spacing between your shelves!

 Before/After - Big difference! 

 Before: Laundry room with awful shelf

 2" pine cleats in place

 Plywood shelves in place and being nailed down

 Front decorative pine nailed in

 Finished shelves - putting laundry room back together

White shelves with lots of room for organization!

Happy Spring Cleaning!
Brittney

Friday, April 18, 2014

Dark Chocolate Raspberry Birthday Cake

Every year I make my husband a cake for his birthday. It is usually chocolate. This year it is a DARK chocolate cake with a raspberry filling, frosted with a chocolate buttercream. Get your forks ready - this cake is sinfully delicious!

To celebrate we are headed to Breckenridge for the weekend so my husband and son can enjoy skiing before the season ends. Yes, skiing in APRIL. Oh Springtime in Colorado!

Dark Chocolate Raspberry Cake

- 2 cups flour (plus 2 tbsp. at altitude)
- 1 cup dark cocoa powder
- 2 cups sugar
- 1 tsp. baking powder
- 1 tsp. baking soda
- 1 tsp. salt
- 2 eggs
- 1 cup sour cream
- 1/2 cup canola oil
- 1 tsp. vanilla
- 1 tsp. white vinegar
- 1 cup hot water

1. Combine and mix sugar, eggs, sour cream, oil, vanilla, vinegar, hot water in your mixer.
2. In a separate bowl combine flour, cocoa, baking powder, baking soda, and salt. Slowly add to the wet mixture.
3. Grease two round cake pans and place half of the batter in each. Bake at 350 for 35-40 minutes.

Raspberry Filling

- 1 cup butter, softened
- 3/4 cup raspberry jam
- 1 1/2 cups powdered sugar

1. Mix all ingredients in your mixer. Wait for cakes to cool completely before spreading filling in between the cakes.

Chocolate Buttercream Frosting

- 1 cup butter, softened
- 6 oz. bittersweet chocolate, melted
- 2 cups marshmallow cream
- 3/4 tsp. vanilla
- 6 tbsp. powdered sugar

1. Combine all ingredients together and chill for 20 minutes before frosting your cake.

 Bottom layer with Raspberry Filling

 Cake frosted with Chocolate Buttercream

Happy Birthday, Kyle!

Also... the Easter Bunny made an early visit last night... Healthy yogurt covered raisins inside the eggs, and a few Peeps and jellybeans! Have a great Easter weekend!


Enjoy!
Brittney


Tuesday, April 15, 2014

Perfectly Boiled Eggs for Easter

Ok it's that time of year where you have to boil eggs! My family is not huge fans of hard-boiled eggs, so I pretty much only boil eggs once or twice a year. I found this cute poster that told me how to boil eggs, the same way I did it last year. Lucky for you - I'm going to share! The eggs are perfectly boiled and taste delicious. The boys are excited to dye their eggs tonight when daddy gets home from work!

 Directions on how to Boil Eggs

 Place eggs in a large pot and pour COLD water until they are submerged, add salt (1 tsp.)

 Boiling eggs for 1 minute

Remove eggs from heat and cover for 12 minutes

 Rinse eggs with cold water and let completely cool before handling

Enjoy!
Brittney

Wednesday, April 9, 2014

Chocolate Chip Cookies... with Cream Cheese!

This weekend I am leaving my dudes to attend my sweet cousin's baby shower in Texas. Naturally, I have been baking and cooking so they don't starve while I am gone! I made a nice lasagna for them to eat and pasta... but if all else fails, there is a frozen pizza in the freezer! My husband's favorite cookie is a chocolate chip cookie, so I some that have cream cheese in the recipe. They are really soft and fluffy when you bite into them - it's hard to just eat one. Hopefully the cookies last through the weekend!

Chocolate Chip Cookies with Cream Cheese (makes 2 dozen)

Ingredients:

- 1/2 cup unsalted butter, softened
- 1/4 cup cream cheese (not light or whipped)
- 3/4 cup brown sugar
- 1/4 cup sugar
- 1 large egg
- 2 tsp. vanilla extract
- 2 1/4 cup flour (plus 2 tbsp. at high altitude)
- 2 tsp. cornstarch
- pinch of salt
- 2 1/4 cups semi-sweet chocolate chips

1. Cream butter, cream cheese, and sugars together until smooth. Add egg and vanilla and mix on medium-high until mixture is light and fluffy (about 5 minutes).
2. Mix four, cornstarch, and salt together in a separate bowl. Add to butter mixture until combined.
3. Add chocolate chips until incorporated throughout the dough.
4. Using a cookie scoop, scoop batter onto a greased baking sheet or parchment paper-lined baking sheet.
5. Bake at 350 for 8-10 minutes (mine took 8 minutes).

 Butter, cream cheese, sugar, brown sugar

 Fluffy butter batter with vanilla and egg

 Completed batter with flour mixture and chocolate chips

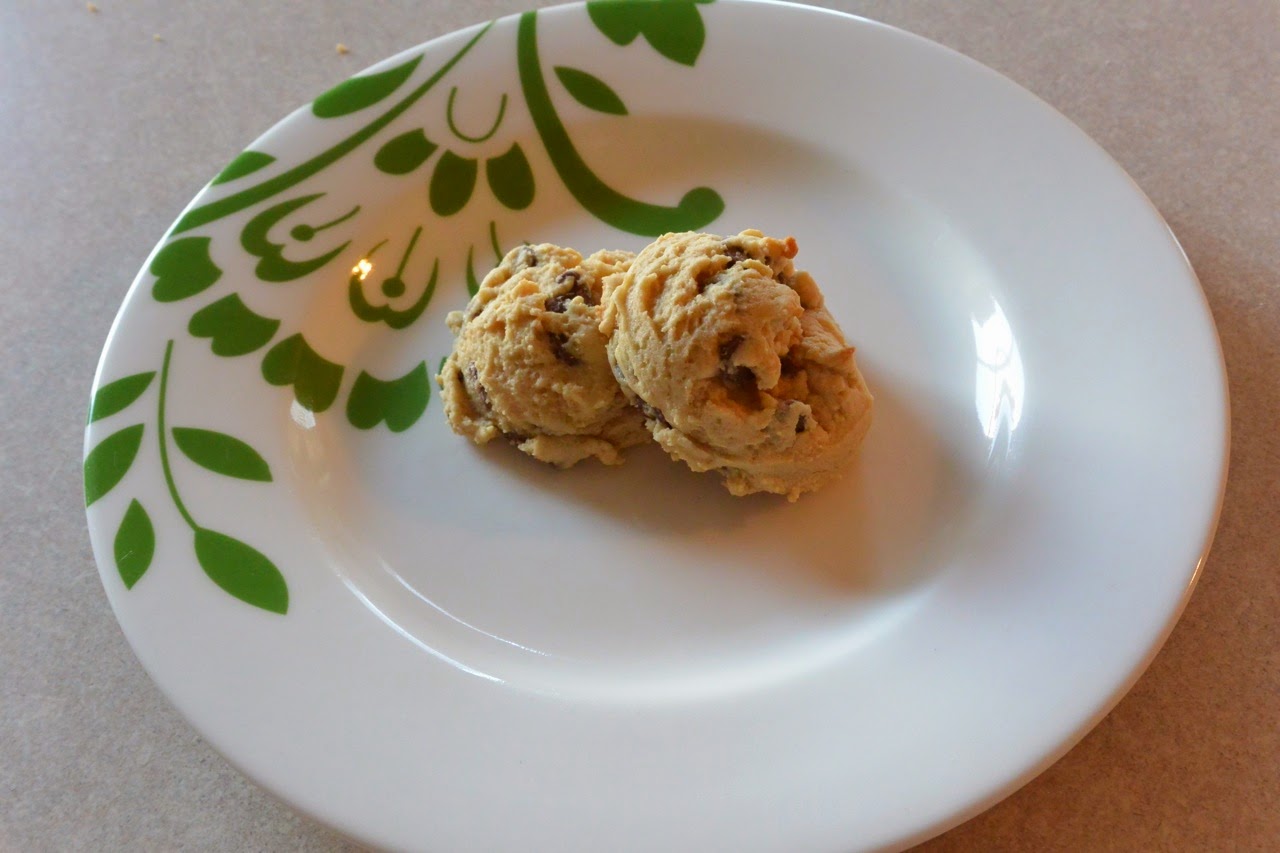
 Cookie Dough

Cream Cheese Chocolate Chip Cookies

Enjoy!
Brittney

Tuesday, April 8, 2014

Easter 'Mod Podge' Eggs

I've been wanting to share my Easter/Spring decor but haven't had the time to complete it - until now! I made these cute Easter eggs to place in a basket and they are pretty easy to make, the hard part is waiting overnight for the 'eggs' to dry! You can use your eggs to make an Easter Egg Garland as well. I also found a super cute *free* printable for Spring!

Supplies

- Mod Podge (matte)
- sponge brush
- balloons
- yarn

1. Blow up a balloon to your desired 'egg' shape.
2. Using sponge brush, brush Mod Podge on balloon. Wrap yarn all over balloon and tie it off on itself.
3. Heavily coat balloon/yarn with more Mod Podge. Patiently wait for balloons to dry. (I placed mine in a cup)
4. Pop your balloons!

Mod Podge, sponge brush, balloons, yarn

 Evolution of the Easter Mod Podge Egg

 Letting my 'eggs' dry in cups (excuse the Christmas ones!)

 My decor! Wreath and 'Spring' banner from JoAnn's Fabrics, green basket from Hobby Lobby

My Eggs and Printable on display

Enjoy!
Brittney

Sunday, April 6, 2014

Anniversary Fondue

My husband and I celebrated 4 years of marriage yesterday! What a ride it has been and we look forward to many more years together! We decided not to go out this year because we just had vacation, relatives and a birthday party. We have been going non-stop the last few weeks, so it was nice to order sushi take-out, drink a bottle of wine, enjoy homemade fondue, and watch a grown-up movie! What a nice evening. We even waited to enjoy the fondue until after putting the boys to sleep - which worked out because Kinley would have gladly eaten chocolate fondue and stayed up ALL night with us on a sugar high!

Since we decided to get take-out, I didn't want to complicate dessert and find the fondue set and make the fondue. Thank you Pinterest for having a recipe for Chocolate Caramel Fondue with an option to just nuke it in the microwave! It was delicious and took about 3 and a half minutes to melt!

Easy Chocolate Caramel Fondue

Ingredients

- bag of caramels, unwrapped
- 1/2 cup semi-sweet chocolate chips
- 5 oz. can evaporated milk

1. In a microwave safe bowl, combine all ingredients and place in mircrowave on high for 2 minutes.
2. Stir and continue to melt/stir in 30 second increments.
3. Serve warm with dessert dippers of your choice! We had strawberries, brownies, bananas, and pretzels.

 Ingredients

 Before being melted in microwave

Chocolate Caramel Fondue and Stella Rosa wine (our favorite!)

Enjoy!
Brittney

Friday, April 4, 2014

White Chocolate Lemon Poppyseed Blondies

There is snow outside but I am still trying my hardest to make it feel like Spring! I have been craving a sweet dessert that isn't too heavy or in the shape of a cookie or cake. Good thing I follow Picky Palate's blog and she recently posted a recipe for White Chocolate Lemon Poppyseed Blondies. Let me tell you - these are amazing! The lemon curd with white chocolate and the texture of the poppyseeds makes this dessert a win! They didn't take too long to prep and bake either, plus I am a sucker for white chocolate. I will thoroughly enjoy them over the weekend... if they last that long!

*If you have trouble finding lemon curd, it is in the jelly/jam aisle of your local grocery store, or Whole Foods

Ingredients

- 4 tbsp. unsalted butter
- 3/4 cup white chocolate chips
- 1 cup flour (plus 1 tbsp. at high altitude)
- 1/2 cup sugar
- 1/4 cup white chocolate chips
- 1/2 tsp. salt
- 1/2 tsp. baking powder
- 2 large eggs
- 1/4 cup prepared lemon curd
- 2 tbsp. poppyseeds

1. In a microwave safe bowl, heat your butter until melted in the microwave 30-45 seconds. Add white chocolate chips and let sit for 1 minute and stir until smooth. You can heat an additional 15-20 seconds to heat through if necessary.
2. In your mixing bowl, add flour, sugar, salt, baking powder, white chocolate chips and melted chocolate mixture. Stir together well.
3. Add eggs, lemon curd and poppyseeds. Stir until combined.
4. Line a small baking dish with parchment paper and pour batter inside.
5. Bake at 350 degrees for 25-35 minutes, until cooked through. Let cool completely before cutting.


Ingredients

 Green Bowl: Melted butter with white chocolate chips, blended mixture
Bottom Bowl: Dry ingredients with melted chocolate, batter with lemon curd, eggs, poppyseeds

 Batter in parchment paper

White Chocolate Lemon Poppyseed Blondies

Enjoy!
Brittney

Thursday, April 3, 2014

Easter Candy Milkshake

Spring was in the air... until we woke up to 6 inches of snow this morning! Well I saw this super cute Easter Candy Milkshake and decided to try it today for my son's snack. I didn't use as much candy in his because I wanted it to make two milkshakes (one for me!) and didn't want him to have too much sugar this afternoon. Feel free to add more candy and whipped cream to yours!

Easter Candy Milkshake (makes 2 servings)

- 1/2 cup of Easter candy, blend in food processor or blender until you have crumbs
- 1/2 cup milk
- 4 scoops of ice cream
- Peeps

1. Mix crumb candy, milk and ice cream together.
2. Top with toppings of your choice.

*My son did ask for seconds!

 Easter Egg Whoppers candy, vanilla ice cream, blue Peeps

 Kinley was in charge of the food processor
 Ice cream, milk, and candy

Easter Candy Milkshake

Enjoy,
Brittney