Sunday, December 16, 2018

Faux Croquembouche

One of the prettiest holiday desserts I have seen is a Croquembouche. It is a French dessert made out of pastry balls that are stacked in a cone shape and covered with threads of caramel. To save a little time in creating a REAL one, I decided to make a FAUX Croquembouche for our Holiday Ugly Sweater Party. I used between 4-5 dozen donut holes, holiday sprinkles, and a foam tree form to create a fun party dessert for kids and adults to enjoy. Below are my steps and materials used.

Faux Croquembouche

- 4-5 dozen donut holes
- toothpicks
- 11" cone form
- clear corn syrup
- holiday sprinkles
- paintbrush

1. Paint some corn syrup onto the bottom of your cone form and stick it firmly to your plate, or base you will be using. This will keep your Croquembouche from moving around the plate.
2. Lightly dab some of your donut holes (I used the glazed ones) with corn syrup and dip it in the holiday sprinkles of your choice. Continue to do this until you have quite a few donut holes with sprinkles on them.
3. Using toothpicks, secure your donut holes around your cone form and continue all the way up it until completed.
4. Guests can easily snack on your Faux Croquembouche at a party or festive event!

 Corn Syrup, paintbrush, donut holes

Glazed donut holes with sprinkles

Securing donut holes with toothpicks starting from the bottom


Completed Faux Croquembouche

Enjoy!
Brittney

Sunday, December 9, 2018

Ribbon Tree How-To

I have been following this amazing Blogger for years and she always has the most beautiful, over-the-top, Christmas trees! She uses lots of ribbon and sprays/sprigs to make the tree look full and gorgeous. So, I watched about ten You Tube videos on how to put ribbon in my tree, and I think mine turned out beautiful, a little less understated than what I had planned in my head, and still kid friendly! I used 4 rolls of ribbon, all different types that complimented each other for my red/gold tree decor. We get a real tree every year, so I couldn't wrap my ribbon around each fake-tree sprig to have it stay. Instead, I bought green pipe-cleaners that I cut in thirds and wrapped the pipe cleaner around the ribbon and branch so it would stay. I cascaded my ribbon from the top of the tree towards the right, bunching my ribbon about every foot and tying it to the tree with a pipe cleaner. There are all types of ribbon configurations you can use - go as conservative or as crazy as you like! I bought quite a few sprigs to put in the tree at the top for more fullness and I love how it turned out. Below are some pictures of my process and the end result. Happy Holidays!

 Two ribbons pinched together and attached to a tree sprig with a pipe cleaner

Ribbon ends cut nicely at the end

Cascading ribbon towards the right

 Our tree!

Ribbon tree with sprigs at the top

Enjoy!
Brittney

Sunday, September 9, 2018

Diaper Cake with a Wine Bottle Base

I've been making this diaper cake for years but recently decided to take a few pictures to show how it's done! I like to use a bottle of wine as the base, but you could also use an empty paper towel roll. I bought a box of 74 (Size 1) diapers and I also gifted the mom-to-be with a box of wipes - she's going to need those, too! Below are the supplies I used and the how-to.

Diaper Cake
- Bottle of Wine
- 60-75 diapers
- hot glue gun
- 2 types of ribbon to layer
- fun felt stickers/add-ons
- extra ribbon for bows
- cardboard for a base that I wrapped with baby wrapping paper
- rubber bands
- ribbon/string to secure diapers

1. Make your cardboard base. I used the bottom of an Amazon box and wrapped it with baby wrapping paper.
2. Place your bottle of wine in the center of your base.
3. Roll each diaper and secure with a rubber band in the center.
4. Place diaper rolls around your wine bottle base, about 3 diapers thick around. Secure with a piece of ribbon or string.
5. Stack another layer of diapers on top of the first, about 2 diapers thick and secure with string.
6. Place 2 diapers that are not rolled around the wine neck to make it thicker and secure in place with a rubber band. Place your 1 layer of diapers around them and secure with a rubber band.
7. Now to decorate! I used burlap ribbon that I secured in the back with hot glue. I then added the zoo ribbon on top and secured with hot glue. Make a bow to place on the top and secure with a little hot glue (it will peel off the diapers).
8. Decorate cake with your add-ons. I used a 'Sophie the Giraffe' and felt zoo animals. I also made little green bows that I glued on.

 Wine center with 3 rows of rolled diapers secured with ribbon

 Diaper cake!


Decorated Diaper Cake

Enjoy!
Brittney

Tuesday, August 21, 2018

Greek Mac and Cheese

I have been wanting to make macaroni and cheese this week... but with a twist! I found this recipe from Skinnytaste.com and loved it! It's fresh and has veggies in it! If only my kids wouldn't pick them out... Below is the recipe!

Greek Mac and Cheese

- 8 oz. elbow noodles
- 1/2 cup diced red onion
- 2 tbsp. butter
- 3 cloves garlic
- 1/4 cup flour
- 2 cups milk
- 1/2 cup mozzarella cheese
- 5 oz. feta cheese
- 1/2 tsp. oregnao
- 1/2 tsp. thyme
- 1/2 tsp. salt
- 1/2 tsp. pepper
- parsley for garnish

1. Preheat your oven to 375 degrees. Grease a 10"x8" baking dish and set aside.
2. Bring a pot of water to boil and cook your elbow noodles to al dente according to the package.
3. In a sauce pan, melt your butter and add your onions. Saute onions for 3 minutes.
4. Add your garlic and saute for 1 minute.
5. Sprinkle the flour on your onions and make a rue.
6. Whisk in your milk until it thickens and boils.
7. Add the mozzarella cheese and feta cheese and whisk until combined.
8. Add the oregano, thyme, salt and pepper and stir to mix.
9. Add noodles and place everything in your greased baking dish.
10. Bake, uncovered, for 20 minutes. Garnish with parsley as desired.

Greek Mac and Cheese

Enjoy!
Brittney

Monday, July 9, 2018

Safari Baby Shower

I hosted a baby shower for my friend and had the most fun preparing for it! I used a color scheme of black, gold and green to achieve the safari theme! Below are pictures from the Safari Baby Shower Luncheon.

Menu:
- Caprese Salad
- Fruit Salad
- Croissant Sandwiches (Make-Your-Own with lunch meats and cheese)
- Flatbread pizza - 2 types
- Hummus and veggie cups
- Naked white cake with buttercream frosting
- Cookies
- Prosecco and La Croix

Gold Safari Animals and Treat Boxes

 Plastic Safari Animals on cardboard

 Spray painted animals gold

 Purchased clear boxes from Hobby Lobby and hot-glued an animal to the top and put ribbon with a "thank you" sticker around the box

 Cookie Treat Box

Royal Icing with hand painted gold frosting by friend made for the shower!

 Cookie Favors

Cookie Box Favor

Games

 Children's Guest Book Signing

Safari Baby Animals Match Game

Decor/Table Setting

 "Boy" Balloon on the front door

 Gold charger plate, green plate and black/white napkin with a gold animal table setting

 Set Table

Lunch is ready!

The Food

 Prosecco and La Croix sparkling water

 Homemade "naked" cake with flowers and custom cake topper from Etsy

Food Table

 Fruit and Caprese Salads

 Hummus and Veggie Cups

 Flatbread Pizzas

Make-Your-Own-Sandwich

Oh Boy!!!

Enjoy!
Brittney


DIY Balloon Garland

This past weekend I hosted a baby shower for a very close friend of mine who is expecting another boy this September. His nursery is themed lions and skiing - so I decided on a safari theme for the baby shower! I made a balloon garland as the focal point for the party and it was pretty easy to do! It took me about an hour and a half total! Below is my Balloon Garland How-to.

Supplies:
- balloons in different colors you want to use for the party, at least 50 (depends on how big you want garland to be)
- string
- tacks
- low-temperature glue gun
- garland extras (I used faux monstera leaves and palm leaves)

1. Blow up balloons in different sizes.
2. Attach 3 or 4 balloons together at their base with string.
3. Cut a long piece of string to use as your main string for your garland shape.
4. Attach string from group of balloons to your main string, tying a knot as close to the middle of your balloon grouping as you can get. Keep adding your balloon groupings to your string until you have your desired length. Tie a good knot on your end balloon groupings to your main string so the balloons do not slip off.
5. To hang your garland use tacks in the wall your will use. I used 3 tacks for mine, the garland was extremely light and did not need a lot of support. I used a tack on the ends and one in the middle. I placed a tack through one of the small pieces of string from the balloon groupings and pushed it in the wall where I wanted the garland to hang.
6. Once you have your garland secured to the wall you can blow up more balloons to fill in the spots that need to be fuller. I used a low-temperature glue gun to glue these balloons to the garland.
7. Add garland extras as you wish with the glue gun as well.

 Supplies: balloons in 4 colors, fake leaves, string, tacks, and Glue Dots (used to put up mylar balloons that say "Oh Boy")

 Balloon grouping with string (4 balloons)

 Balloon groupings on the main string at my desired length

 Balloon garland attached to the wall with tacks - 
extra balloons and leaves glued on with glue gun

DIY Balloon Garland

Enjoy!
Brittney

Wednesday, April 25, 2018

Bacon Jam

My husband and I recently celebrated our EIGHTH Anniversary in Vail! Time sure seems to be speeding by but our love for one another remains stronger than ever. My mom came out for a week and we were able to sneak away, just the two of us, for closing weekend at Vail to go skiing and enjoy some whiskey and great food. One of our appetizers at this amazing restaurant - Mountain Standard - was a warm pimento cheese spread with bacon jam. It took all we had not to lick the bowl! So, I decided to try making some bacon jam! It actually doesn't take very long and it turned out to be delicious! Now if only my house would stop smelling like bacon...

Bacon Jam

- 1.5 pounds of bacon
- 2 sweet onions, sliced
-  1/2 cup + 2 tbsp. balsamic vinegar
- 1/2 cup brown sugar
- 2 tsp. salt
- 1 tsp. pepper

1. Preheat your oven to 400 degrees and lay your bacon on a lined baking sheet. Bake for 14 minutes, or until crispy. Reserve 2 tablespoons of your bacon grease.
2. Slice your onions and place in a pan with your bacon grease. Cook onions on low heat, slowly until they become dark brown.
3. Add your 2 tablespoons of balsamic vinegar to de-glaze the pan and scrape the bottom of the pan.
4. Add the rest of your balsamic vinegar, salt and pepper to your onions and stir until they form a thick glaze forms.
5. Transfer bacon and onions to your food processor and pulse until it is your desired consistency. Devour the jam immediately or store in an air tight container up to 1 week.

 Bacon and Onions in food processor

 Bacon Jam


Bacon Jam served on a Melba cracker with pimento cheese spread! YUM!

Enjoy,
Brittney

Wednesday, March 28, 2018

Home Updates

Wow! This year is flying by! We have been very busy with projects around our house! To include getting a new sliding door in our kitchen, getting some new pieces of furniture and painting two more rooms! I have made our 'bonus' room a functional room that has a desk and computer set up for our kids to do homework at and a bookshelf that we were able to unbox the rest of our books and display them on. We hope to add a bed in that room, making our home a six-bedroom.

Last year my husband got me a beautiful live-edge dining table set for my birthday and we had an issue getting the bench delivered to us. This year - it arrived! Below are pictures of the new bench. We also bought a new mirror and credenza for that room and it is coming along. All I need to complete the look is some more decor and a chandelier.

 Live Edge Bench by Sunny Designs

Stockholm Credenza and Mirror from IKEA, baskets from Etsy

We had these beautiful French doors in our kitchen but due to them being installed improperly and the settling of the house, they were warped and leaking in cold air. So, we had a custom sliding door made and installed and it is beautiful! I'm still getting used to it - it is extremely wide and lets in a lot of light, but no cold air! 

 Before: French Doors

After: Sliding Door

Back in July I painted our bedroom Sherwin Williams Origami White. I just love this color and how much brighter our room looks now! Decor is still a work in progress but I did update my 'gallery wall' above the bed to a more modern look that turned out so nice!

 Master Bedroom Before we moved in

Painted this room in 2 days

 SW Origami White!

 New duvet/pillow and old gallery wall

 Modern Gallery Wall: frames

 Love this!

I painted my kids' grey/beige bathroom a nice white. It's amazing how much better a room can look with a new coat of paint! 

 Before: Grey/Beige

 Before

 First coat of paint

 Complete!

Elephant print from Homegoods

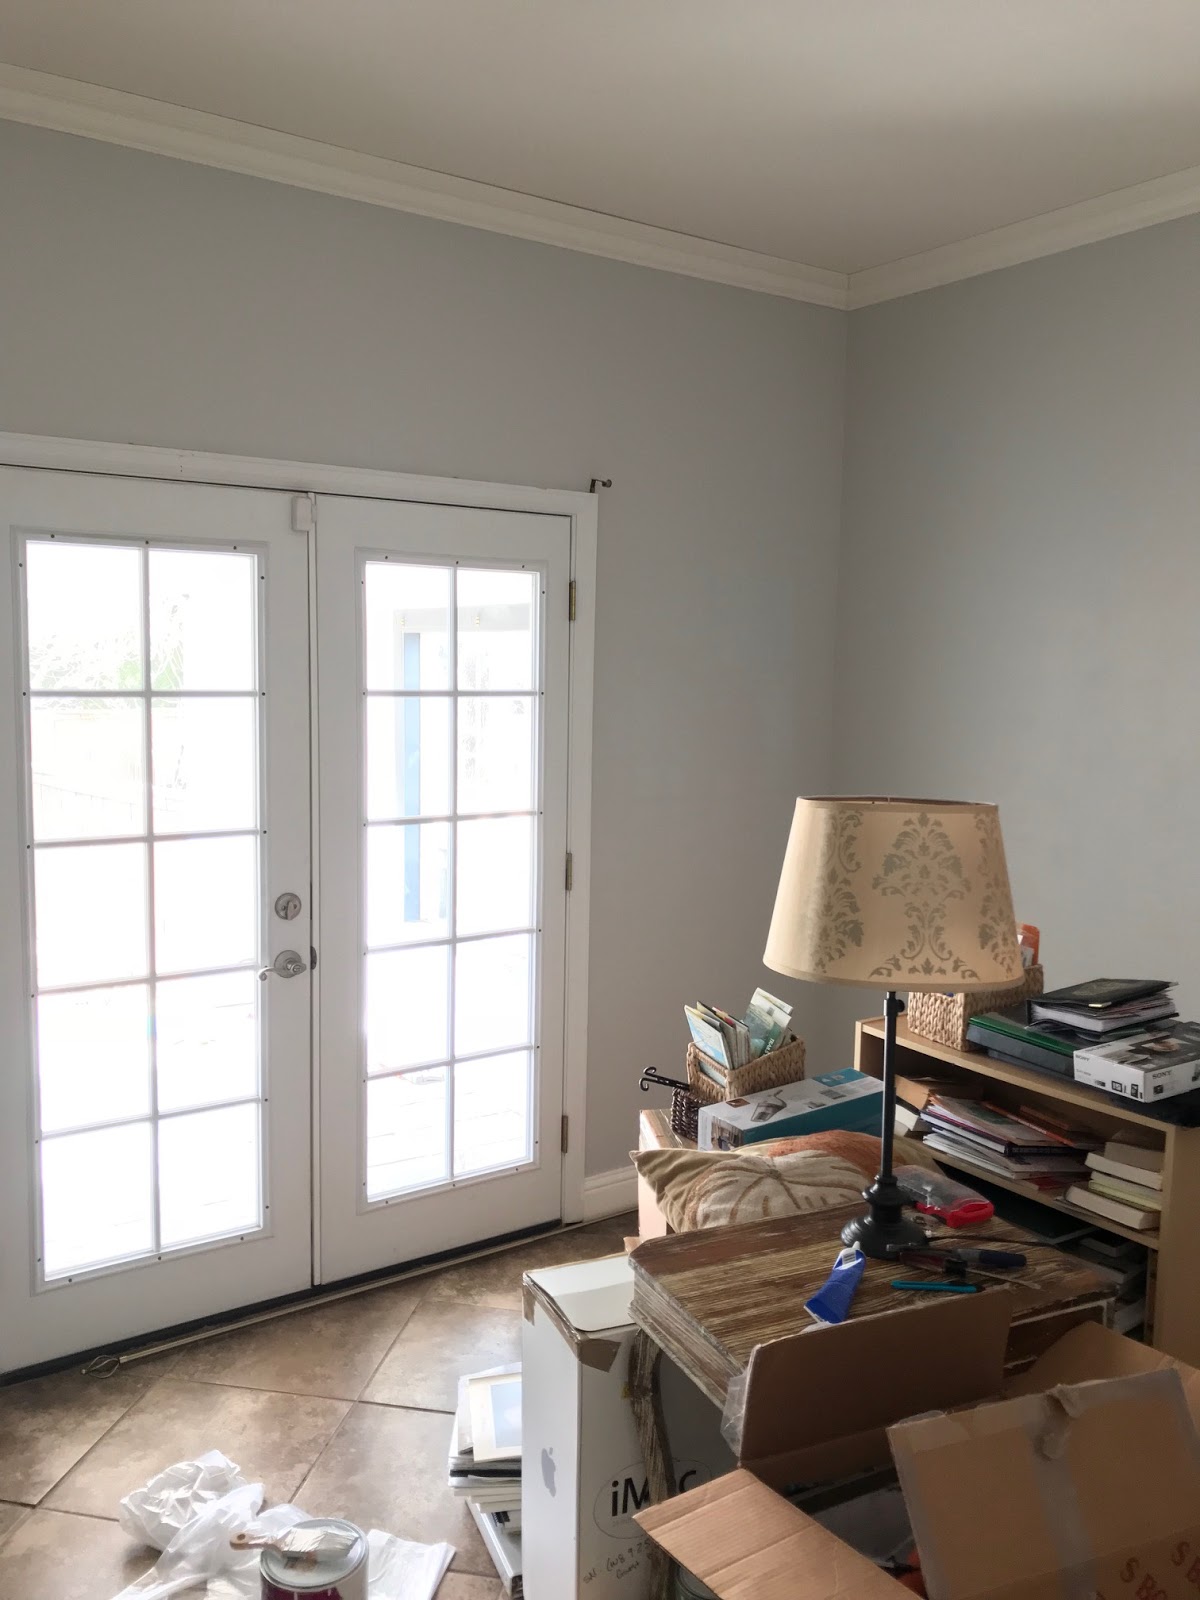
On the main floor we have a 'bonus room' that was set up as an office for the previous owners. We have used it as a storage room for extra boxes and I decided to clean it out and paint it so that it could be a functional computer/reading room, and one day another guest room. I painted the room Sherwin Williams On the Rocks gray. Here are the results!

 Unfinished Crown Moulding

 Using spackle to cover nail heads in crown moulding and then I caulked the top and bottom of the moulding to seal it

 Before Painting

 First Coat of Paint

 First Coat of Paint

 Second Coat of Paint - next to paint crown moulding 

 Finished room! Bookcase and desk with computer

 Painted crown moulding white and installed curtains

Bought shag carpet off OfferUp!

Enjoy!
Brittney